Getting Started with Ledger.com/start
Setting up your Ledger hardware wallet is essential for securing your cryptocurrency assets. The official website ledger.com/start provides a step-by-step guide to help users initialize their device safely. Below is a comprehensive walkthrough of the entire setup process.
Step 1: Unbox Your Ledger Device
When you receive your Ledger wallet (Ledger Nano S Plus or Nano X), verify that the box is sealed and has not been tampered with. Inside, you’ll find the device, a USB cable, instructions, and a recovery sheet. Never use a pre-configured or used device.
Step 2: Visit Ledger.com/start
Open a browser and go to ledger.com/start. This page ensures that you're downloading authentic software directly from Ledger. It will prompt you to choose your Ledger model.
Click your device (e.g., Nano S Plus or Nano X), and follow the instructions. The site will guide you to download the Ledger Live application — the official interface for managing your wallet.
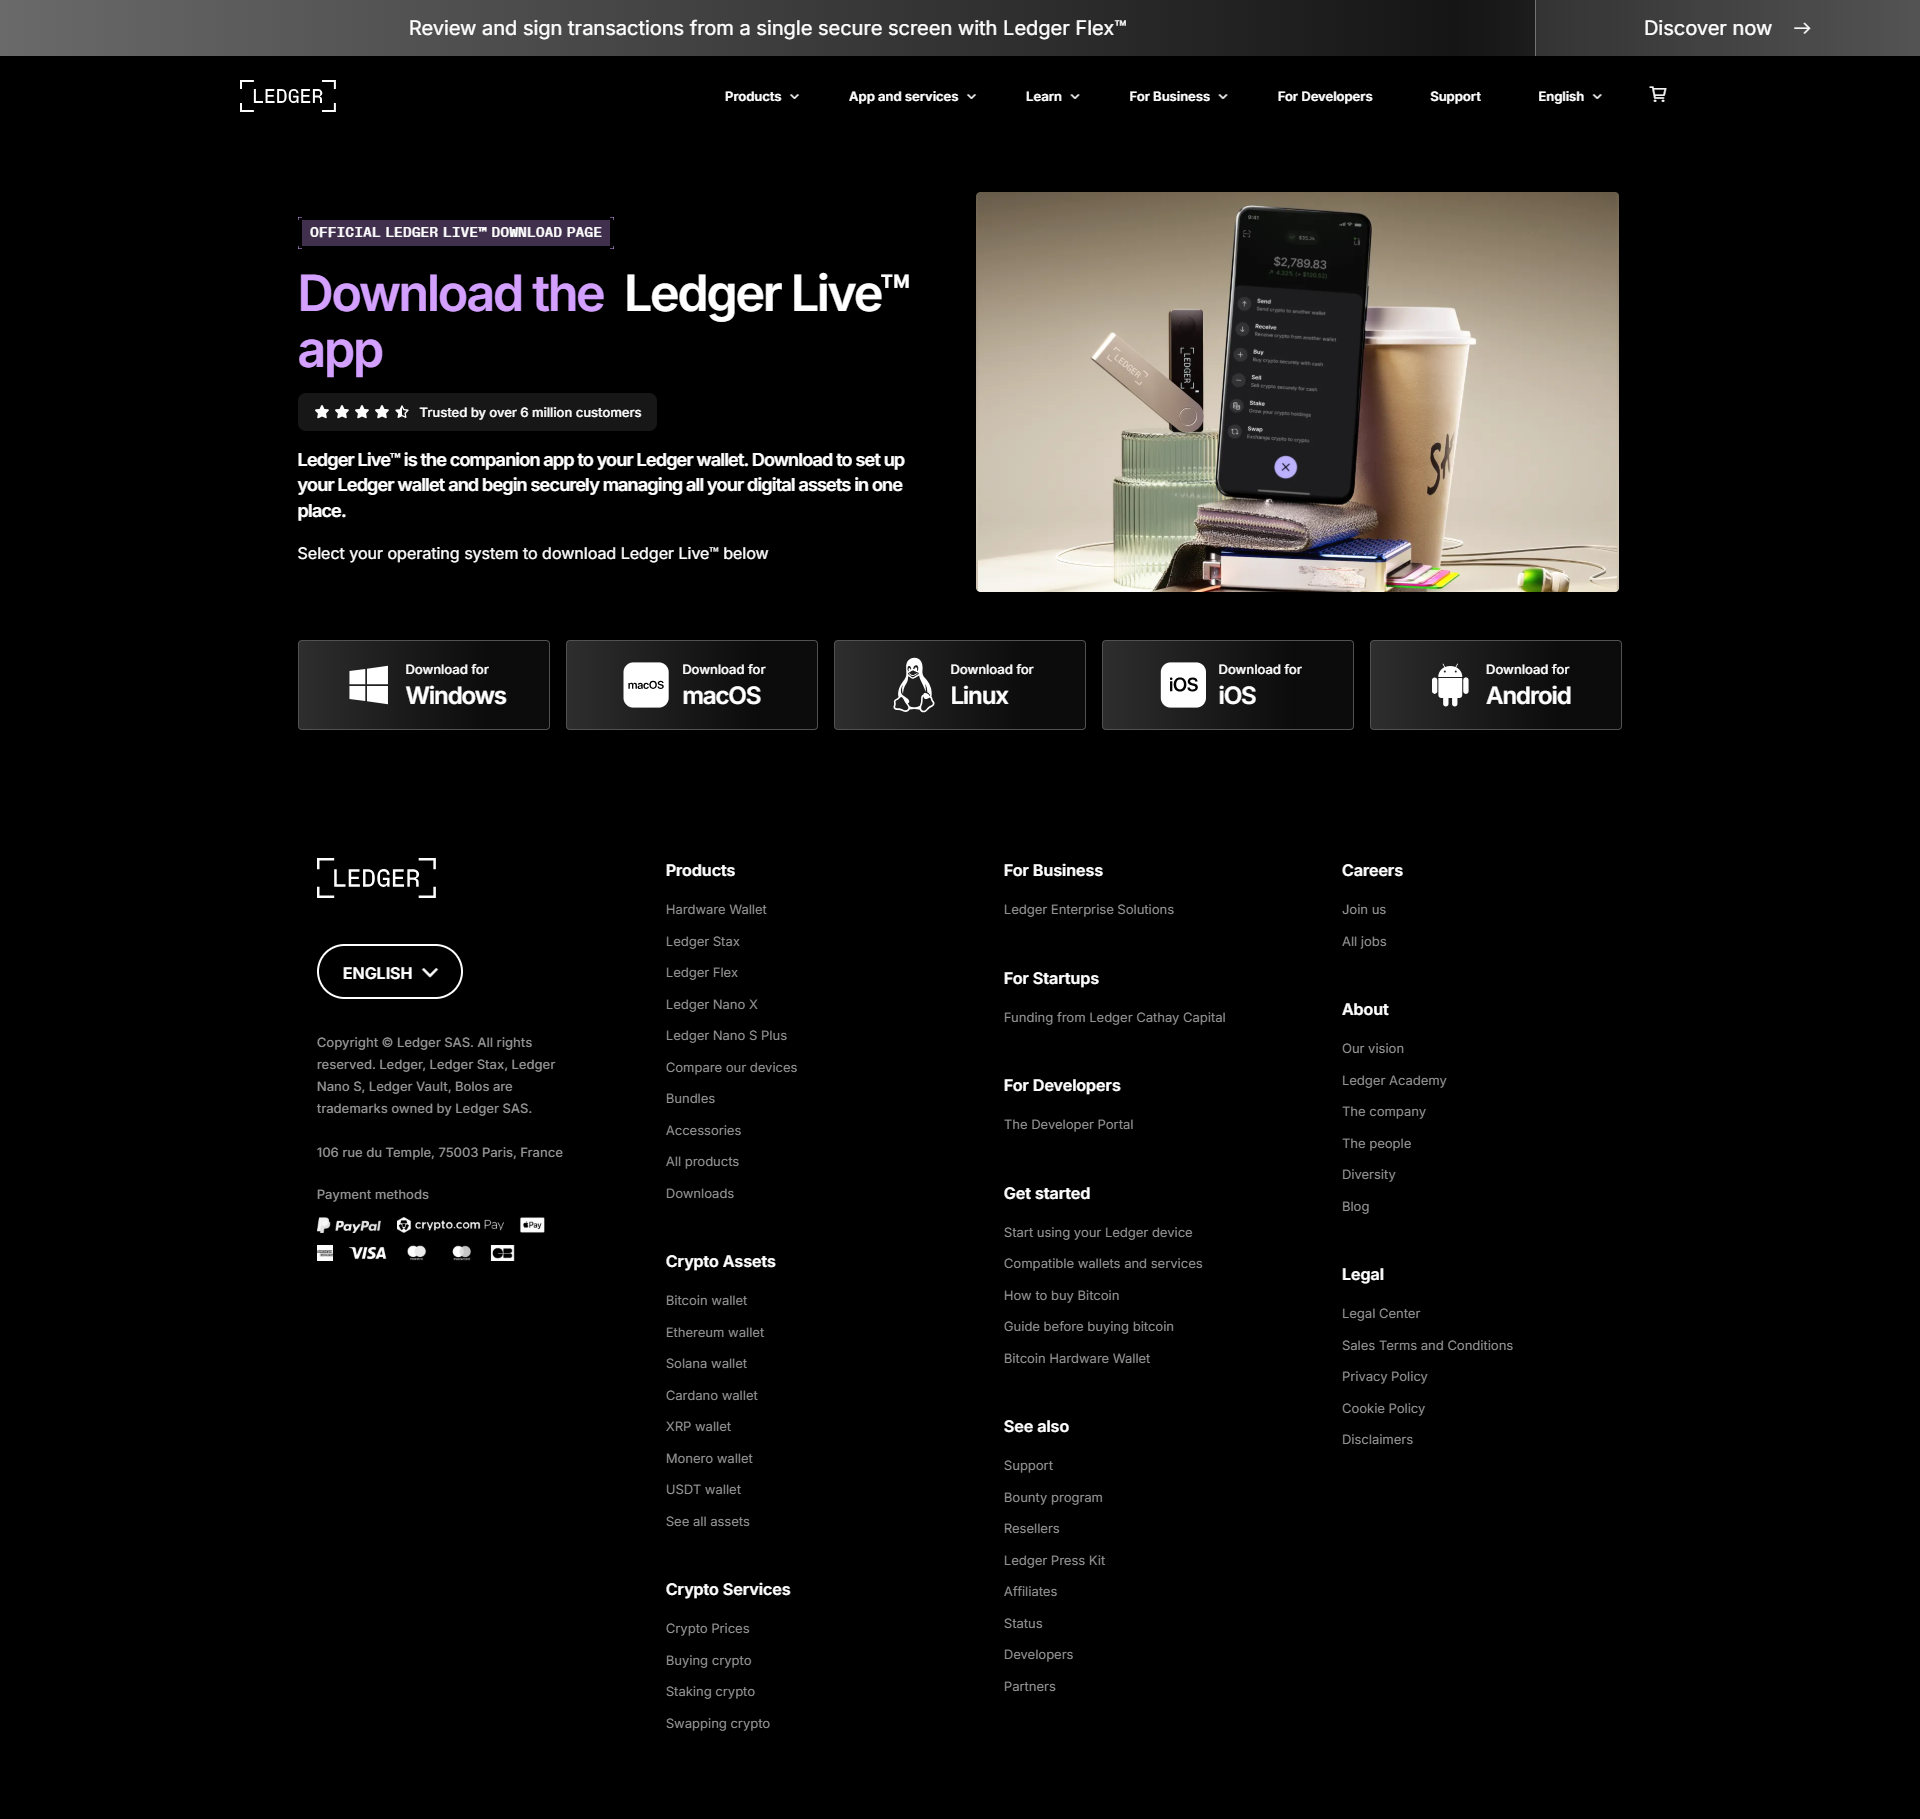
Step 3: Install Ledger Live
Ledger Live is available for Windows, macOS, Linux, iOS, and Android. Download and install it from the link provided on the website.
Once installed, open Ledger Live and allow it to check for updates. This ensures your software is secure and up to date.
Step 4: Initialize Your Ledger Wallet
Plug in your Ledger device using the included USB cable. Ledger Live will walk you through the setup:
- Choose “Set up as new device” if this is your first time using the wallet.
- Pick a 4- to 8-digit PIN code using the device’s buttons. This code will be required every time you unlock the wallet.
- After confirming the PIN, the device will display a 24-word recovery phrase.
Write this phrase down on the provided recovery sheet. Never store it digitally, and never share it with anyone. This is your backup in case the device is lost or damaged.
You’ll be asked to confirm a few random words from the phrase to ensure you recorded it correctly.
Step 5: Connect Ledger Device to Ledger Live
Once the device is initialized, go back to Ledger Live. You’ll be prompted to connect and verify your Ledger wallet.
Complete the security checklist to confirm the device is genuine. If all checks are passed, the device is ready to use.
Step 6: Install Apps and Add Accounts
In Ledger Live, navigate to the “Manager” tab to install apps for specific cryptocurrencies (e.g., Bitcoin, Ethereum).
Then, go to “Accounts” to add the wallets corresponding to the coins you installed. You can now send, receive, and manage crypto directly through Ledger Live.
Security Tips
- Always access Ledger Live via ledger.com/start.
- Never share your 24-word recovery phrase.
- Enable password lock on Ledger Live.
- Regularly update firmware and apps.
Conclusion
The setup process via Ledger.com/start is designed to be user-friendly and secure. With your Ledger wallet and Ledger Live installed, your digital assets are stored offline and protected from online threats. Always follow best practices and keep your recovery phrase safe.
Made in Typedream